This is a brief post which may help some individuals create a small Lego Wall within their classroom or makerspace. The great thing about this task is that you can customize the wall to your satisfaction and ensure it caters to the needs of your students. I elected to make a rather small wall due to the frequency in which I’ll be utilizing it along with spatial concerns. Here is what you need:
- Lego Baseplates
- Thin Piece of Plywood (size varies depending on preference)
- Caulking (No More Nails via LePage was used)
- Caulking Gun
- Measuring Tape
- Double Sided Tape
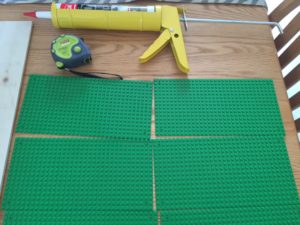
Lego Baseplates
The above image contains the measuring tape, caulking gun, and baseplates. I elected to use small green baseplates (25.5cm x 12.7cm) because it is more multifaceted and can actually act as a green screen as well. Lego baseplates can be expensive but I was able to find a distributor which makes this affordable.
- To begin, measure out how large or small you would like your wall to be (Use baseplates as template)
- Purchase plywood at hardware store and have them cut the size for you but leave 1/2 inch extra each way for error (Avoid thick plywood so attaching to wall/surface is easier)
- Use caulking on flat side of baseplate generously and apply to wood surface (Make sure it’s aligned with edge)
- Work horizontally so lego pieces fit when completed
- Continue until all pieces are affixed to the plywood
- Attach to wall via caulking, extra strong double sided tape (easiest), etc.
Here are photos of the process:
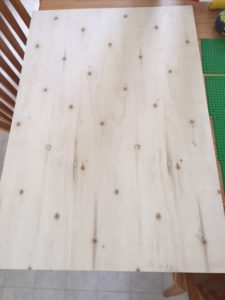
Plywood Base
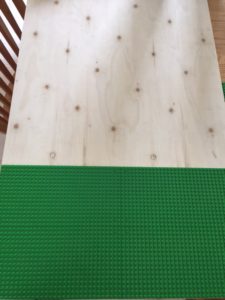
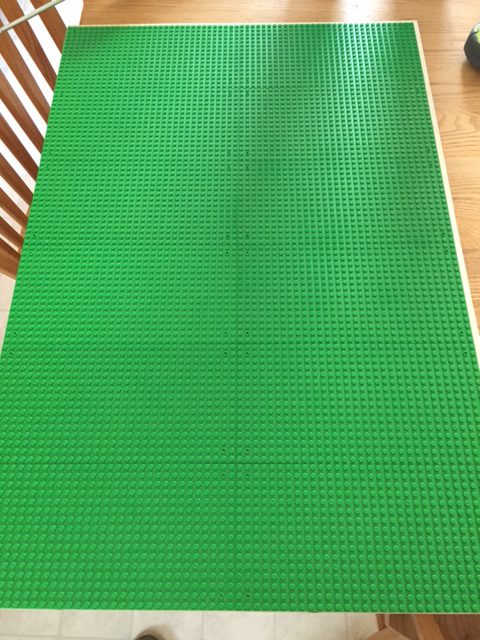
Baseplates Added
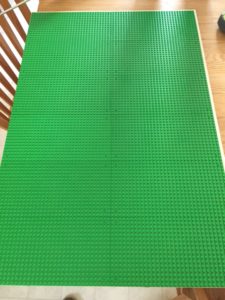
Final Product
Product Shopping List:
Lego Baseplates (message for details)
Total Cost: Under $50!
Please let me know if you have any additional questions!

2 Comments on “How to Create a Lego Wall on a Budget”
Where did you purchase your Lego Baseplates?
I used a few different retailers.
I originally purchased them on sale from Wal-Mart as well as Amazon.
Later, I started purchasing via: https://www.aliexpress.com/w/wholesale-lego-plates.html
If you happen to have access to a 3D printer you can print your own!